Introduction
The fax bridge syncs your fax machine(s) with Pilot’s mFax service. This is why you don’t need analog lines to send and receive communications. Typically, Pilot will install your fax bridge at the same time your handsets are installed. In case you need to move your fax machine or buy a new one, follow these steps below to get reconnected!
Make sure you’ve got the right FaxBridge equipment
- RJ11 telephone cable
- Cat5e or Cat6 network cable
- Power adapter
- mFax FaxBridge
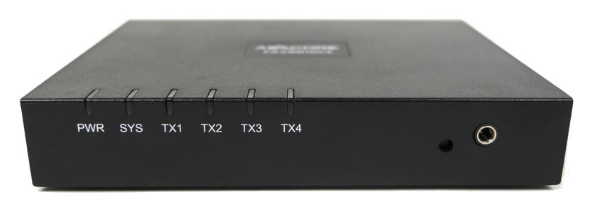
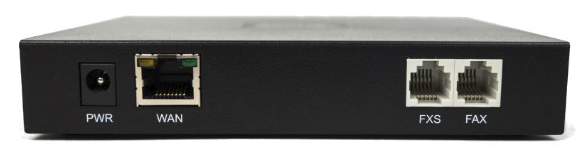
Front of FaxBridge Back of FaxBridge
Get connected
Step 1: Connect the fax bridge
Start by connecting the network cable provided to an open ethernet port. Plug the other end into the FaxBridge WAN port.
Then, connect the power adapter into the PWR port. Plug the other end into an open A/C outlet.
Connect the RJ11 telephone cable into the FAX port. Plug the other end into your fax or copier machine.
Step 2: Make sure FaxBridge is online
After plugging in your FaxBridge, call Pilot at 855-578-5500 to verify it’s online. You can also email support@pilotfiber.com to check.
If you get the all clear, your device is online and ready to send faxes.
