Introduction
By default, your SonicWall device will dynamically assign IP addresses. Depending on your network setup or your ISP’s requirements, a dynamic IP assignment might not be an option. When this happens, you might need to manually configure your IP addresses statically.
If you find yourself in that situation, follow the steps below to configure your SonicWall’s WAN port with a static IP. We will be using a SonicWall TZ 350 firewall as an example for our setup.
Before you get started—check out this article if you have a brand new SonicWall device that has never been configured. The article you're reading is great for re-configuring an existing device.
Configure WAN port with a static IP
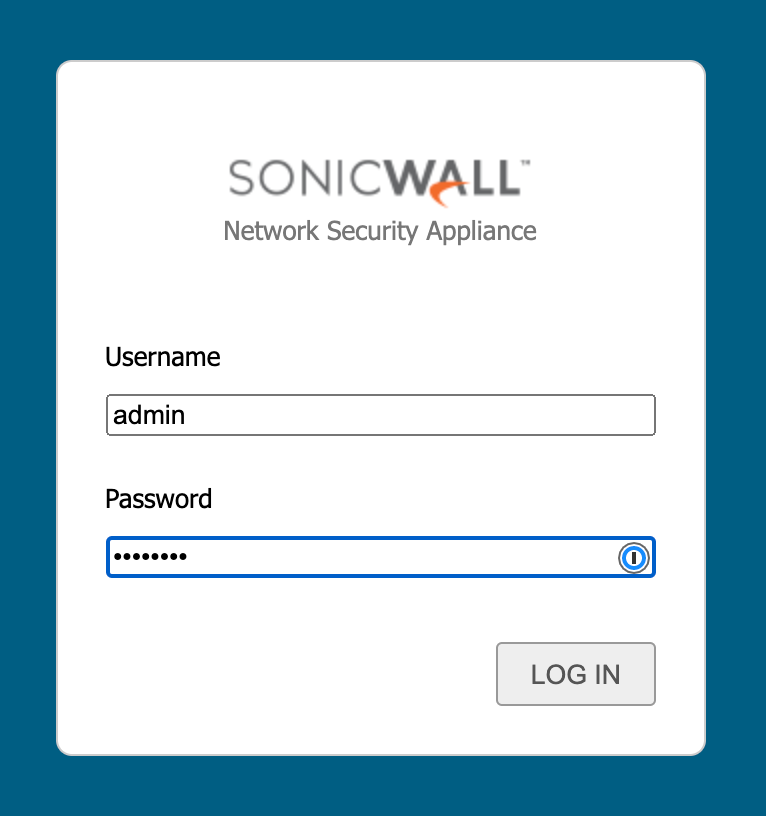
Step 1: Navigate to http://192.168.168.168 in a web browser. Log in with your device credentials.
Your default login is: (username: admin) (password: password)
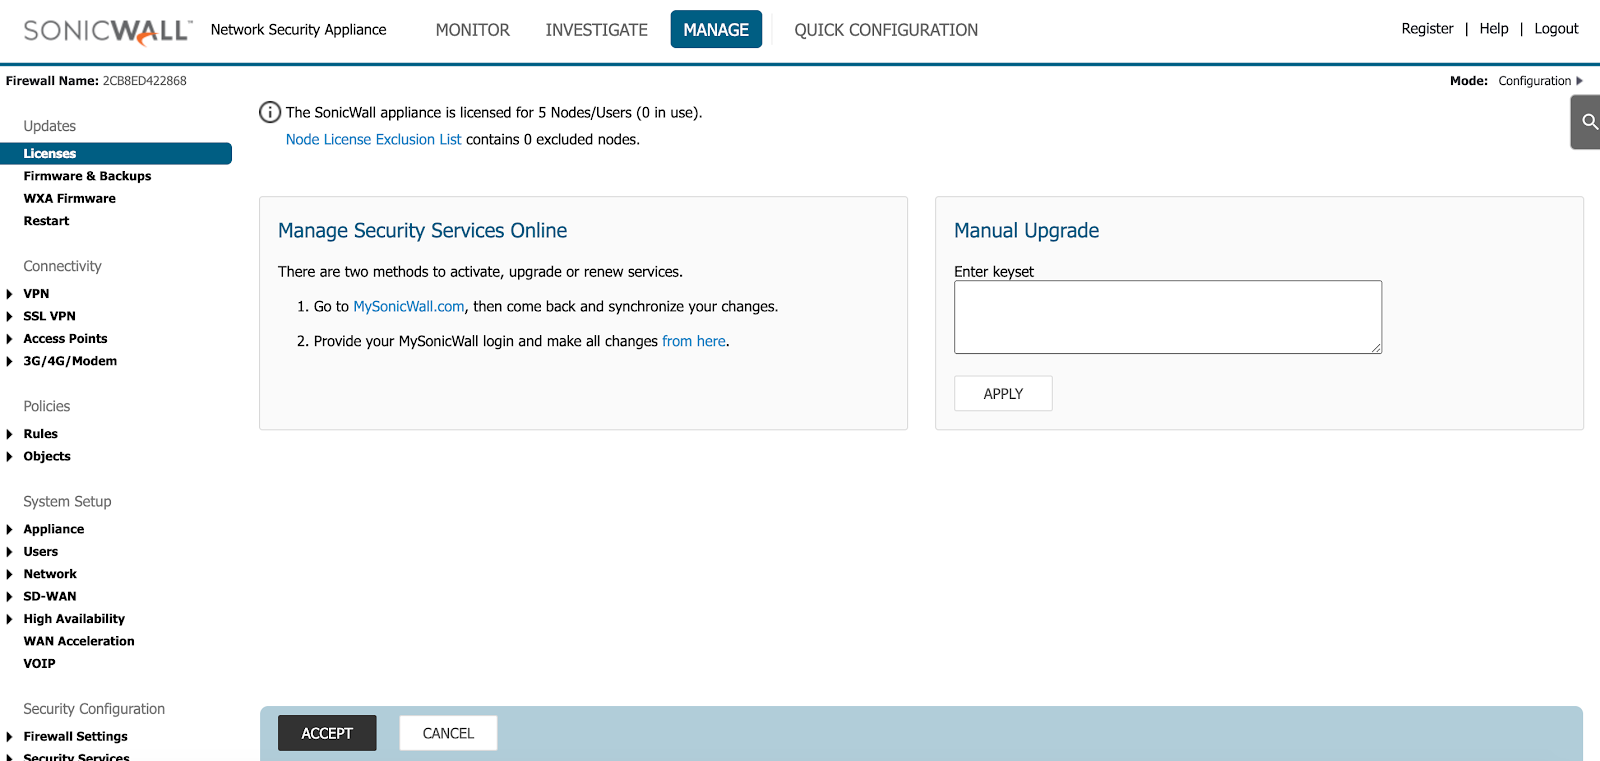
Step 2: Click “Manage” on the top bar to navigate to the page where we can make configuration changes.
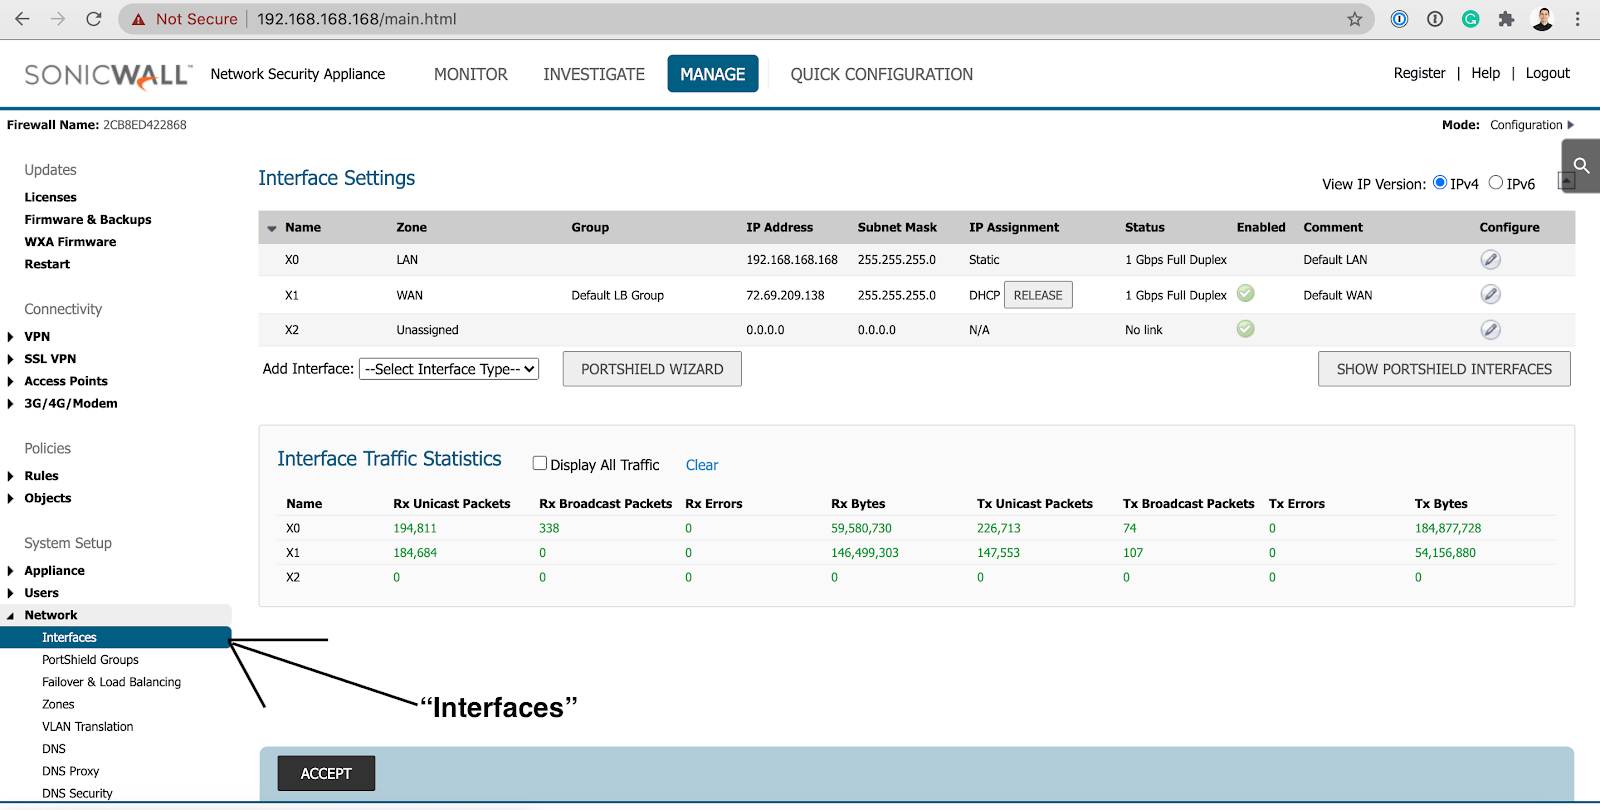
Step 3: Click on “Network” on the left pane, then click “Interfaces.”
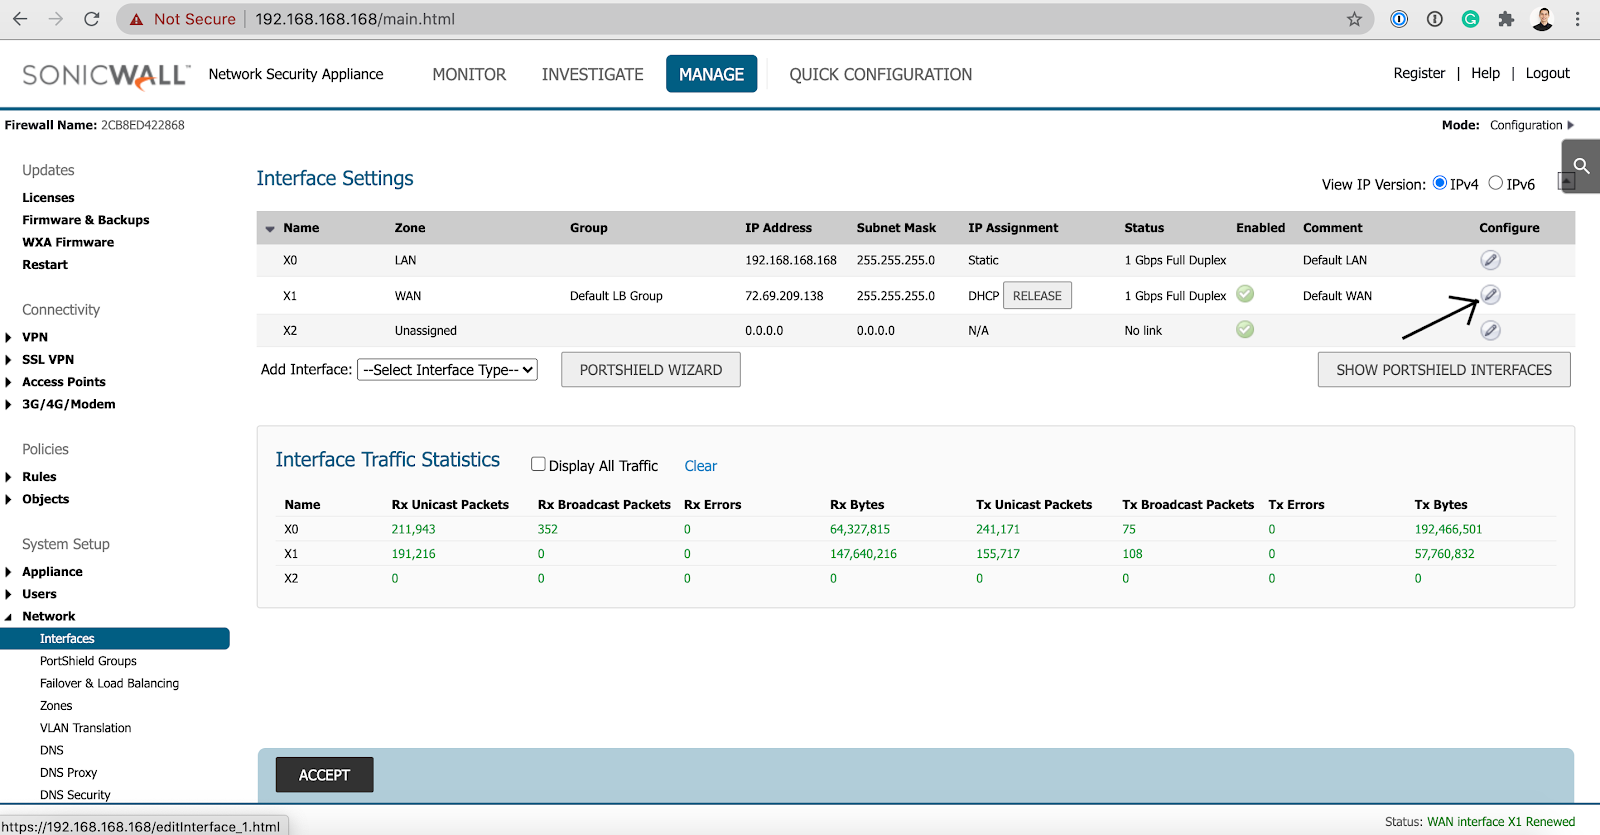
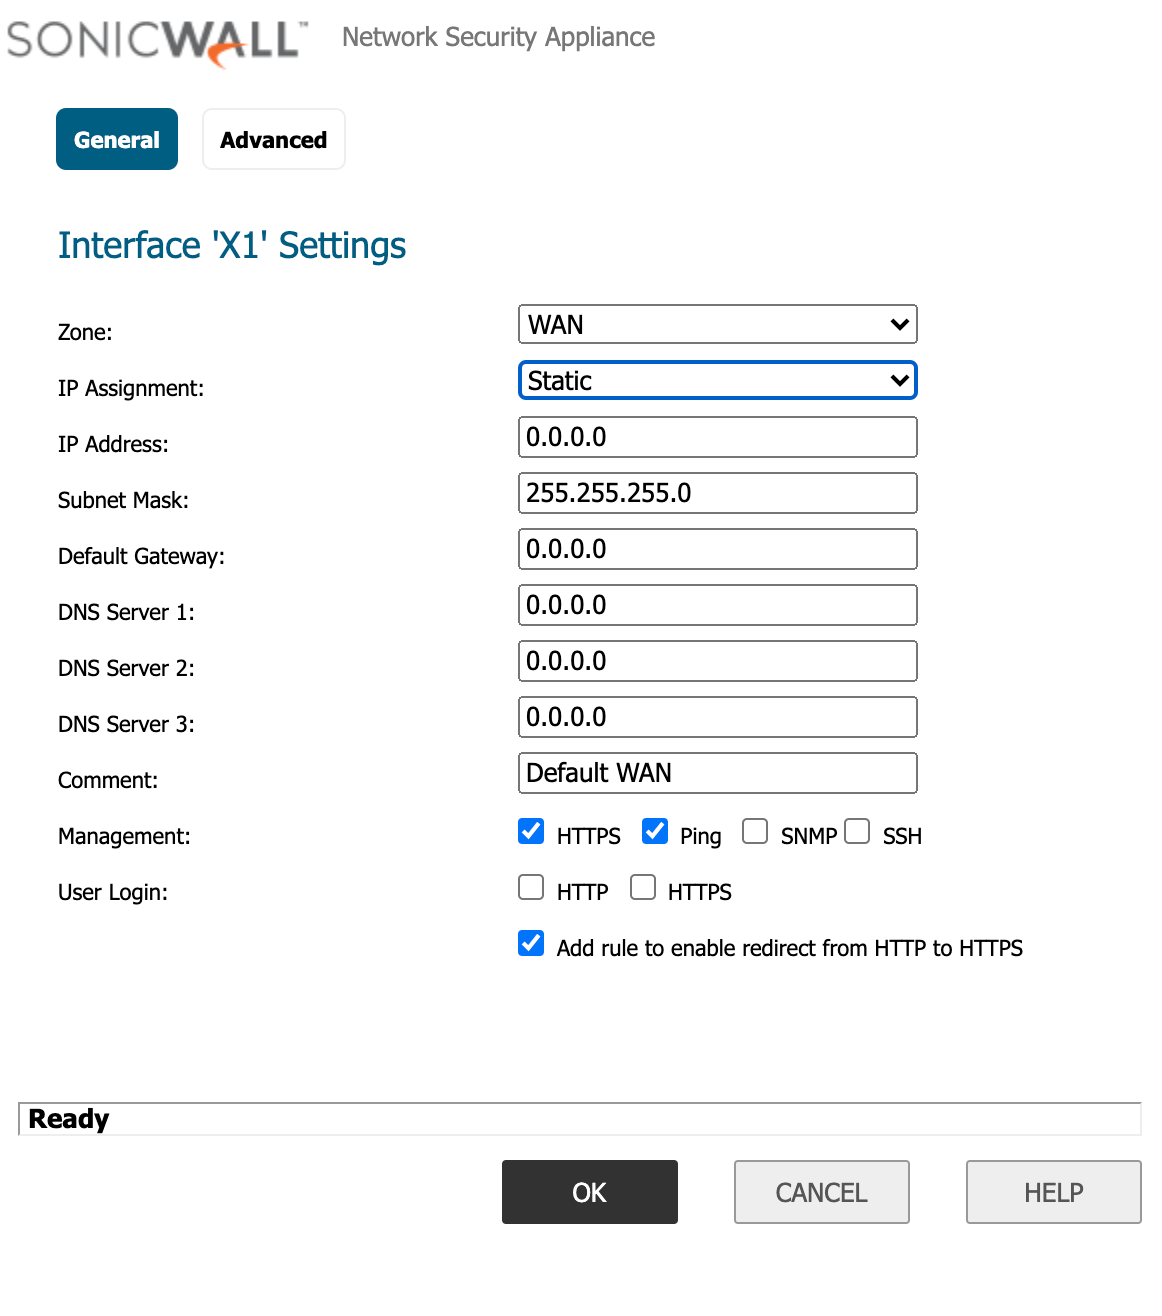
Step 4: Next to interface X1 and WAN (Wide Area Network), click the icon on the right under the column “Configure.”
Note: Your SonicWall device has separate interfaces for both your internal network (local area network or LAN) and your internet or public-facing network (wide area network or WAN). For any changes on your SonicWall device regarding public IPs, you’ll want to work out of the WAN (X1) interface.
Step 5: A new window will open. Next to “IP Assignment,” click the drop-down menu and select “Static.” Enter your IP information, then click “OK”
(If you decide to change back to DHCP, follow steps 1-4, and then select “ DHCP” on the dropdown menu next to “ IP Assignment”.)
Conclusion
Your SonicWall is now configured to a static public IP address!
Check out our other SonicWall support articles for more information.

