Introduction
DHCP configuration is an awesome tool for keeping your network's IP assignments automated; allowing hosts on your network to obtain all TCP/IP configuration parameters directly from a centrally managed DHCP server.
DHCP keeps track of IP address availability within your network and performs all the IP management heavy lifting for you! This reduces the time you might spend in manual network administration tasks and assignments and provides a reliable source of truth for all host IP related information
By default, DHCP service already runs on all the configured subnets on your MX. Follow the steps below to configure the DHCP settings on your Meraki MX.
Change your DHCP Settings
Step 1: Hover over “Security & SD-WAN” on the left pane and choose “DHCP” under Configure
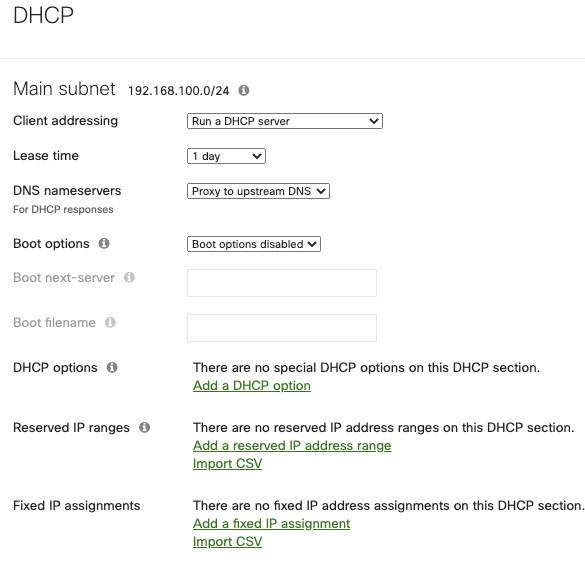
Step 2: From the DHCP menu, you’ll have the option to change lease time, DNS nameservers (to instruct clients on what to use), boot options, among others. You even have the option to disable the DHCP server as well.
Conclusion
For any more questions on DHCP configuration, contact Pilot support.