Introduction
Making a phone call while you're on-the-move can be difficult, especially if you need to fumble with your cell phone to “Press 1 for support.” But, by adding speech to text to your auto attendants, you can improve your callers’ experience. Speech to text allows callers to use their voice to dictate where they’d like to be transferred to, for a convenient hands-free experience.
So whether shopping in a store, driving a car, or pushing the new baby in a stroller, your callers can simply say, “Support” and your auto attendant will route their call to the right department.
Check out the steps below to set up speech to text.
Configure speech to text
Step 1: Start by logging in to the Pilot Voice portal. Your Login Name will be in the format of extension@domain.
Step 2: Once logged in navigate over to the Auto Attendants tab.

Step 3: When in the Auto Attendants tab, choose to either create a new one (more on creating an auto attendant here) or click the Edit button to modify an existing one.
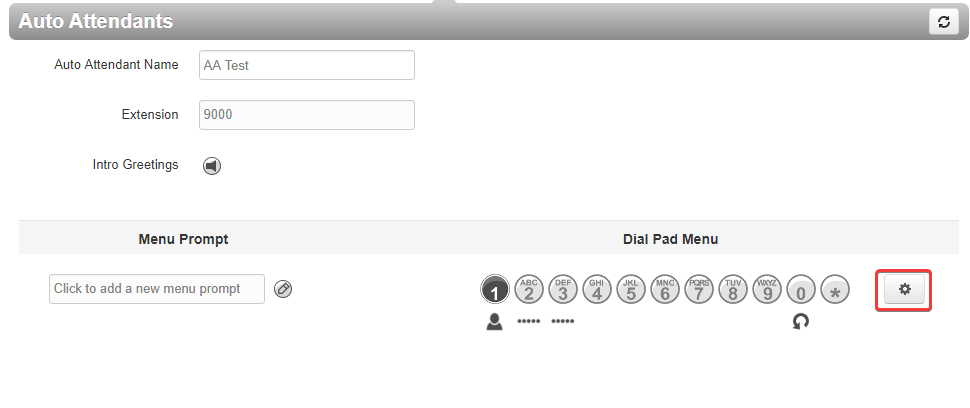
Step 4: To add speech to text while editing or setting up an Auto Attendant, click on the gear icon.
Step 5: In the Options box that pops up, navigate to the Speech Keywords tab.
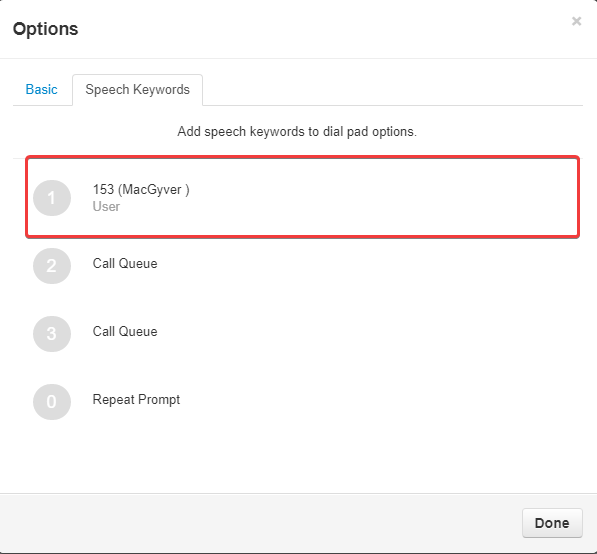
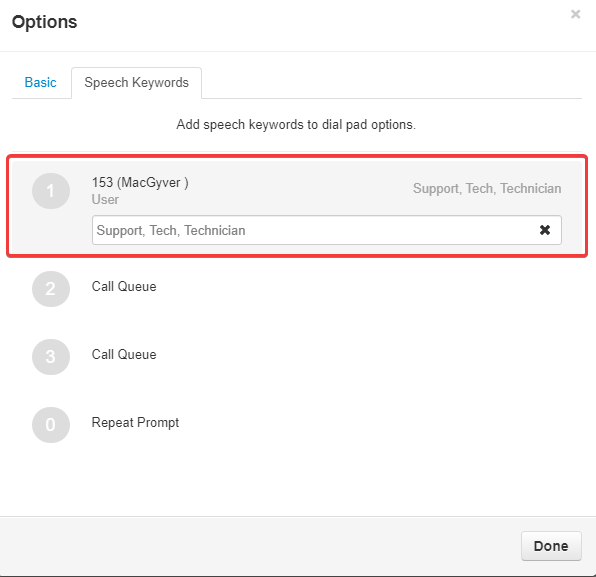
Step 6: Here you’ll be able to select one of the dial pad options and add specific keywords to use to direct callers to the right department. Once finished, hit done to save.
And just like that, your customers can now navigate your auto attendant menu using their voice.
Looking for more on auto attendants? Check out these articles:
- Optimize the Pilot Voice auto attendant
- Make an auto attendant recording with Pilot Voice
- Route a DID to your Pilot Voice auto attendant
